|
Hello, I hope everyone had a wonderful weekend! Here in the US, we had Thanksgiving. It's my favorite holiday because it's all about being together with family and eating good food. I got a much needed break from school and work, and I feel refreshed to start the next week. Over my break, I created a new zine for the Hebrew month of Tevet. My goal is to create a new zine for each month of the Jewish calendar. This month's zine is black and white with illustrations, fun facts, and historical dates. I made it an accordion style because that's my favorite single page book structure. I love how it all folds out to create a beautiful scene. 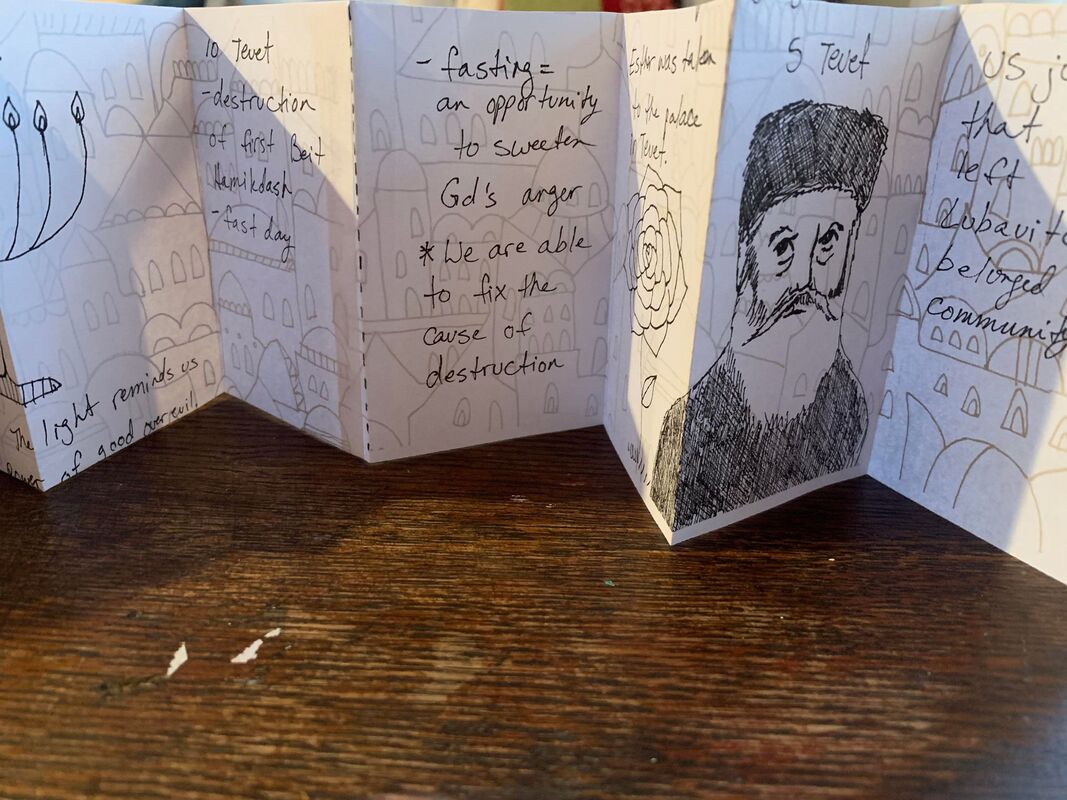 To see the back part of the zine, please click here: https://www.etsy.com/listing/1128325531/ The back of the zine features an illustration inspired by Jerusalem.
I hope you have a great week ahead, and only good things come your way. Until next time, Cassie Clark
0 Comments
Hello everyone! I hope you're having a lovely day. Today I wanted to share a work in progress. It's a new (actually thrifted) denim jacket. The original artwork is based on another artist who makes beautiful cards and adorable artwork for kids! Her work can be found here: https://www.minted.com/store/loriwemple. Here's the first attempt at painting this jacket: 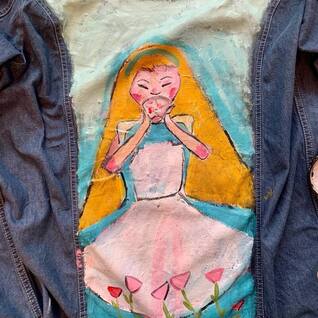 I love the original painting by Lori Wemple, but I wasn't in love with my rendition on the jacket. I added a few things like fabric scraps, doodles, and more painting. I also added some sashiko embroidery and more definition on the face. It's still not done but I'm really starting to love it! 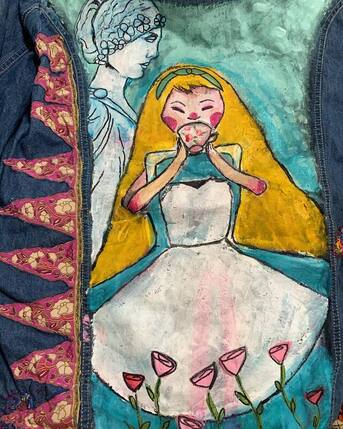 I can't wait to show you what the finish painting will look like. Remember to follow me on instagram at instagram.com/artofcassieclark so you can see before I post here. I'm also on facebook: Facebook.com/cassiejart.
See you soon! Hello everyone!
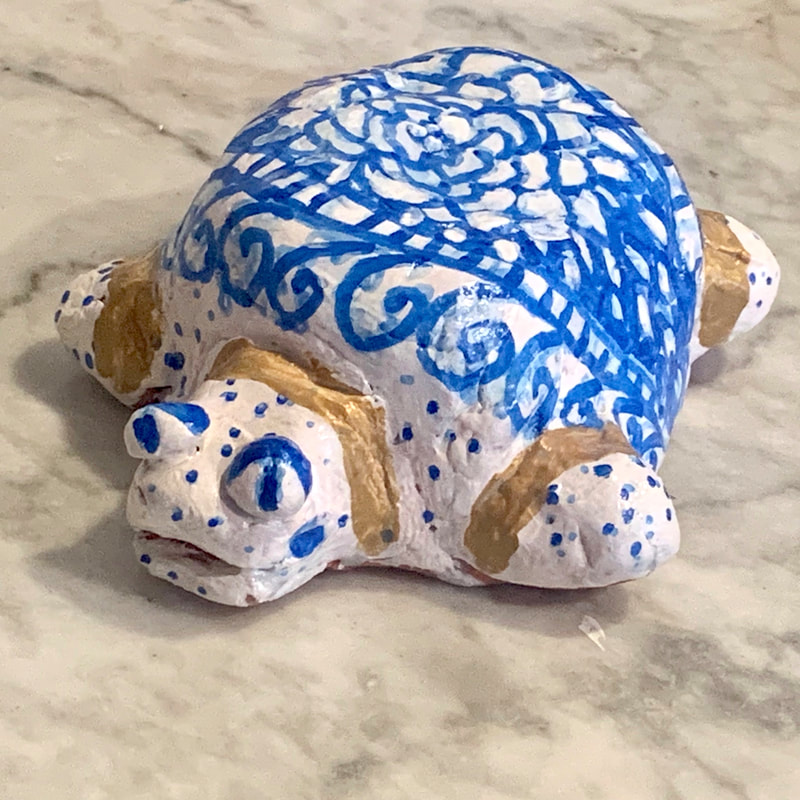
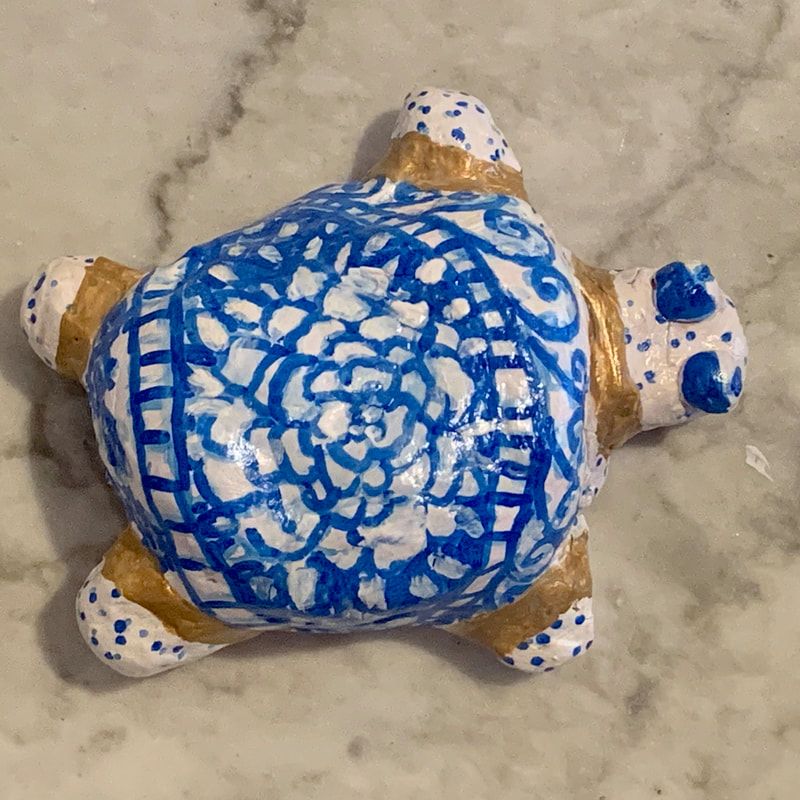
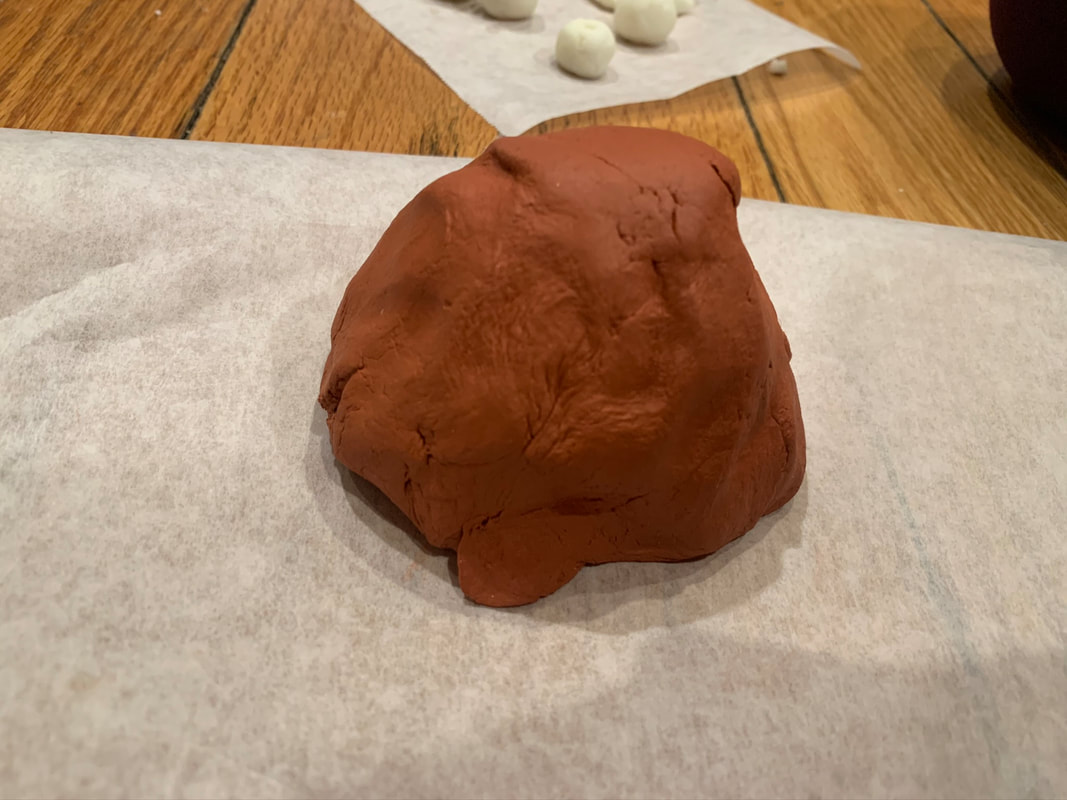
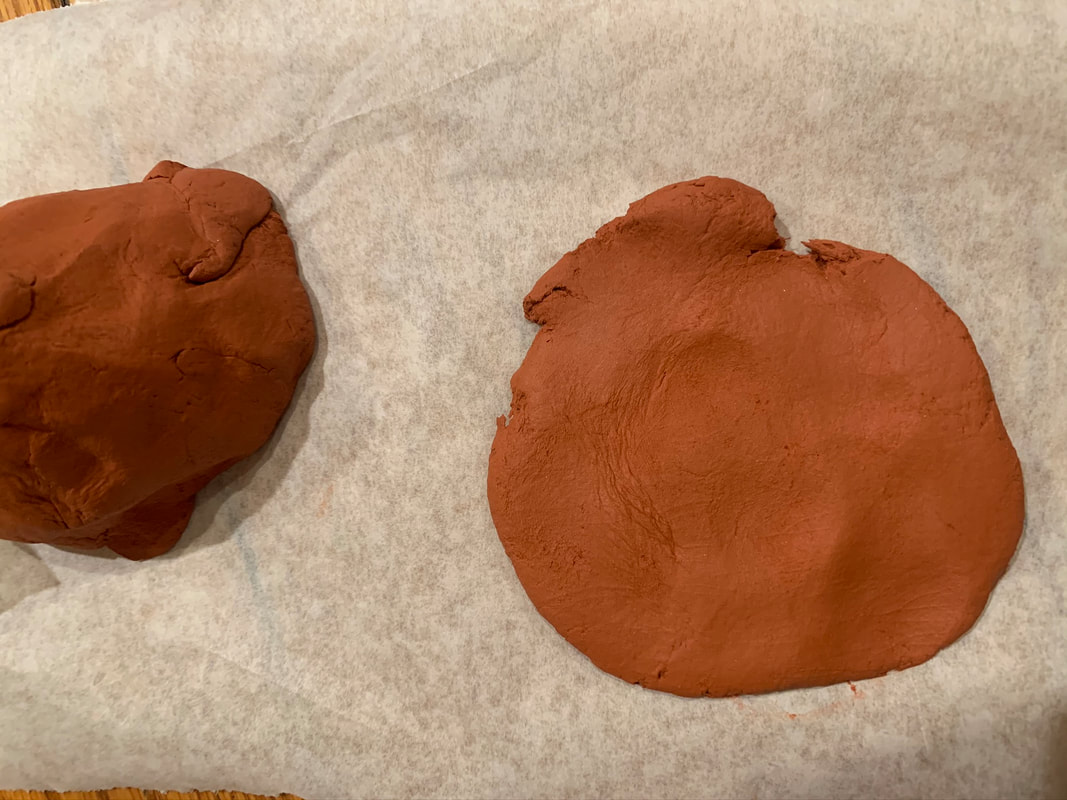
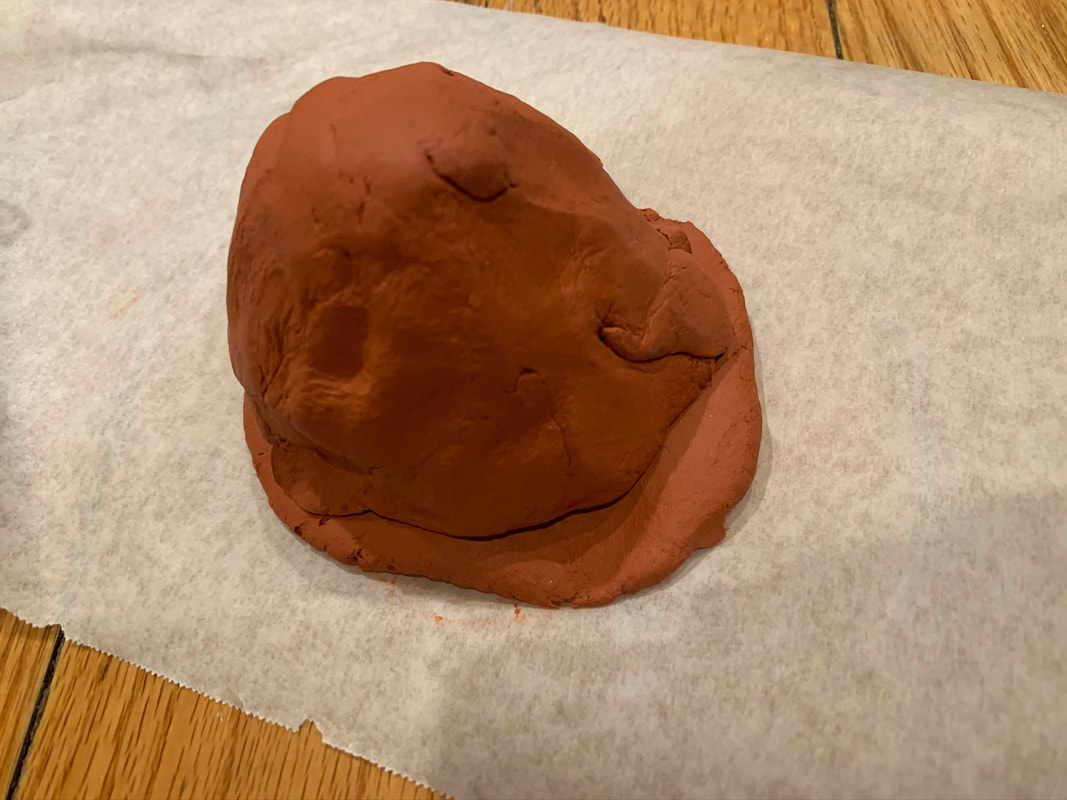
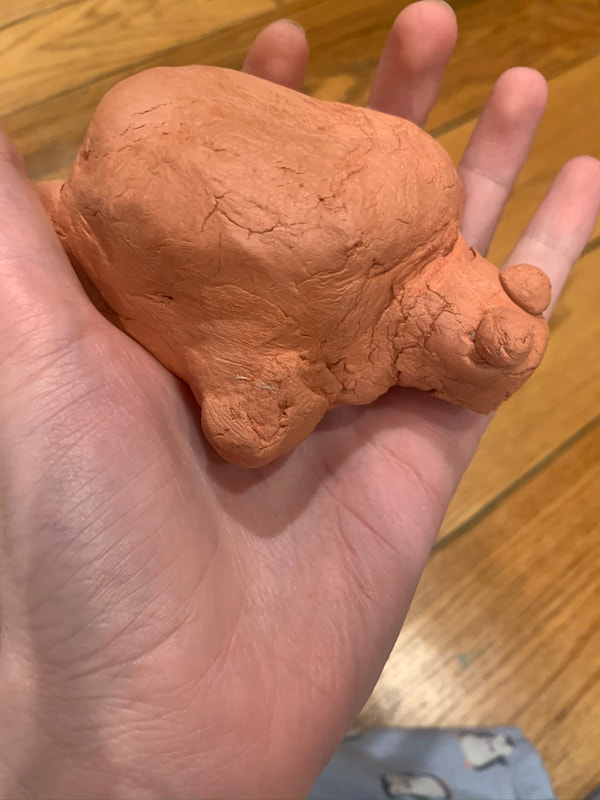
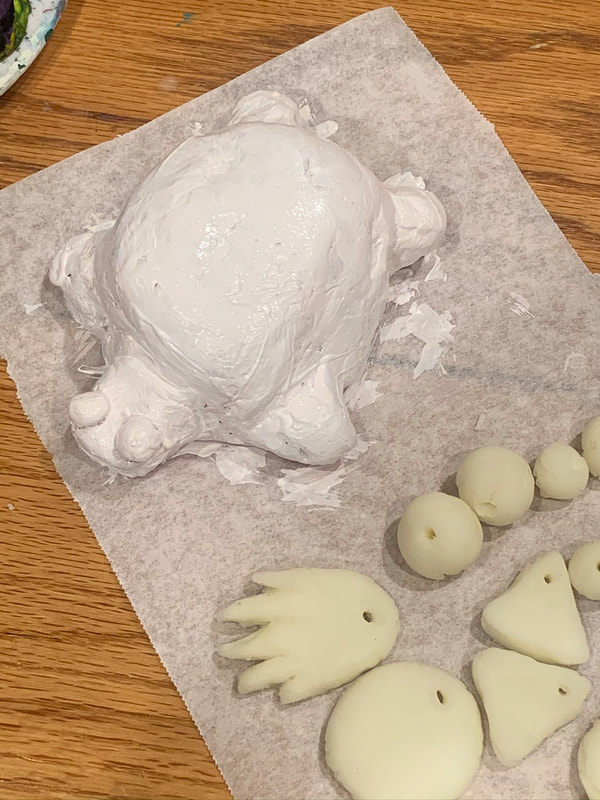
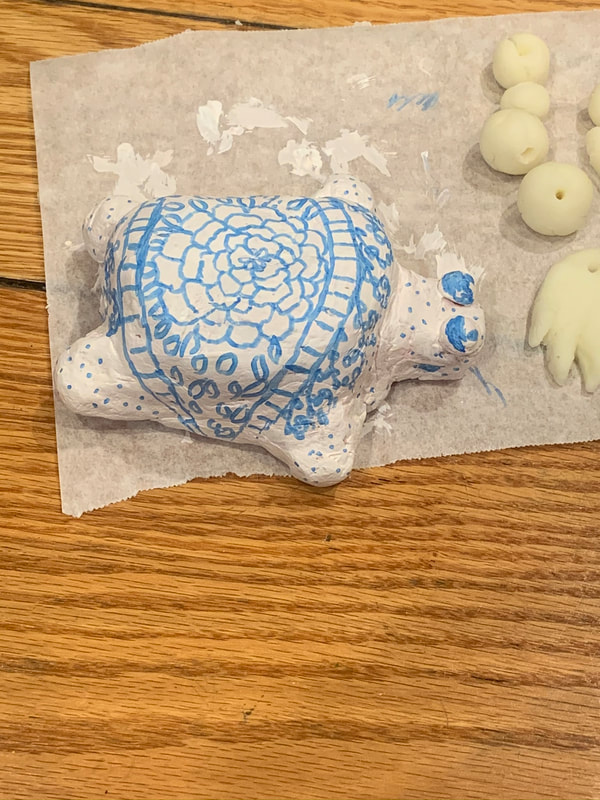
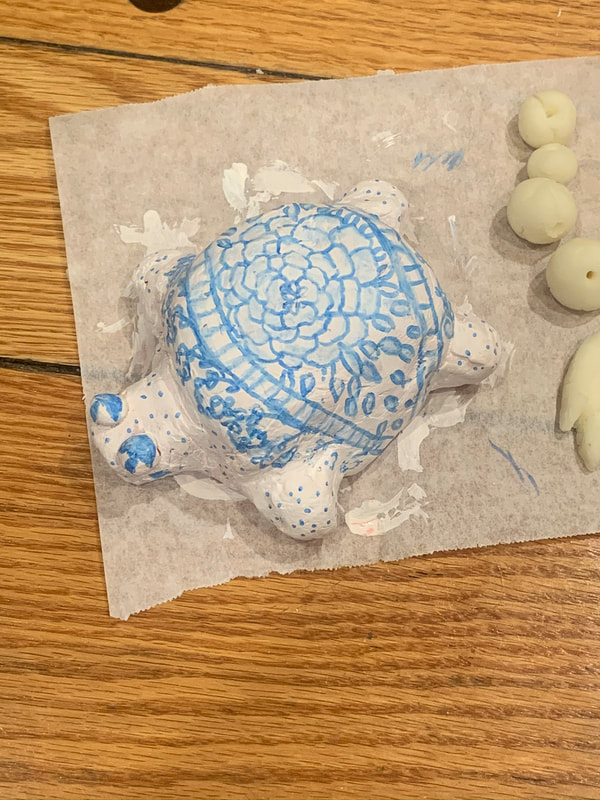
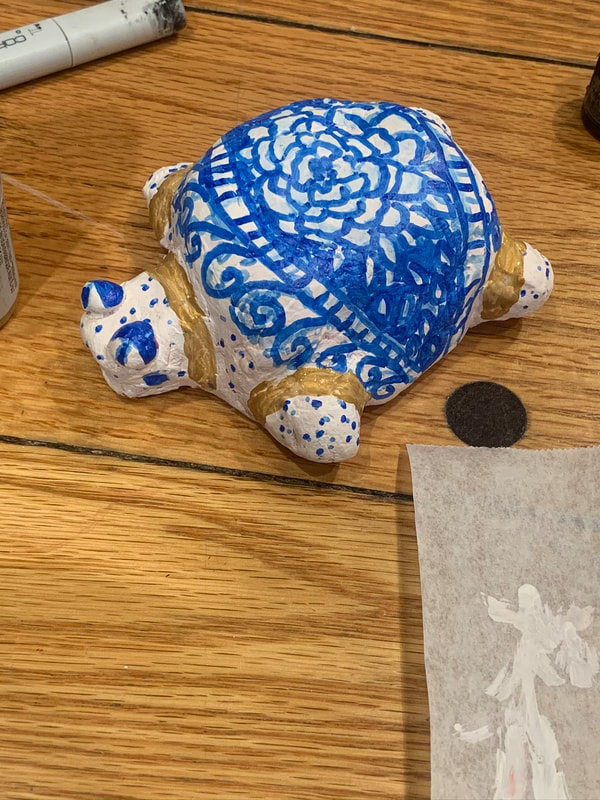
I hope you're all doing well. I wanted to make a post to update you on how my first residency is going. So far it's amazing. It's rained a lot here, which is my favorite environment in which to create art. When it's nice out, I take walks to get inspiration from the beautiful gardens on campus. There's also beehives and a Zen meditation space. Both the staff and other artists are so nice and helpful. We share meals together every day and talk about how our creative processes are going. I've made a lot of progress with my art and my sustainable fashion brand. On Wednesday, we'll be having a workshop where I'll be teaching how to make recycled clutches from plastic and paint. Im super excited as I haven't taught a group in a while. I've also been thinking about how to make my factory made clothing more sustainable. I've decided to use natural materials and have my products made in the USA. For my handmade clothing items, I'm using thrifted or repurposed fabrics. These are all steps to reduce my store's carbon footprint. I've come to realize, being human just isn't earth friendly. However, there are ways we can make the world a little better- without making ourselves go nuts. You can see my work from the residency under the "Slow Fashion" tab of this site. I also have more announcements to come. Thanks for reading and see you next time! Hi everyone! Today I will be sharing how I made my ceramic turtle. A bit of a backstory: I originally made a turtle like this during my freshman year of high school. Since the whole world is under quarantine, I have more time to be creative. I had been meaning to remake this for years, and here was my chance! Here's the original turtle: 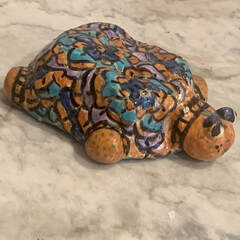 And here is the new, updated turtle! If you Google Chinoiserie vases, you'll see my inspiration. So I will show you the steps I took to make this, feel free to tag what you made on Instagram @artofcassieclark. Materials: Air dry clay Acrylic paint Smoothing tool (I used a plastic knife) Scoring tool (I used a wood skewer) White Acrylic Paint Blue Sharpies of alcohol based inks Gold Acrylic Paint Acrylic Varnish Paintbrushes Sandpaper (Optional) COPIC Colorless Blender (Optional) Popsicle stick (optional) Steps (Pictures at the End) 1. Make a pinch pot with your clay. If you are unsure how to make this, YouTube has some helpful videos. 2. Make a flat piece of clay, large enough to fit under the pinch pot. 3. Score, slip, attach, and blend both pieces together. 4. Score, slip, and attach 4 balls of clay for the legs. Do the same with a bigger ball for the head. 5. Optional: Use a popsicle stick to make the mouth of the turtle. 6. Cut a few holes in the bottom of the turtle. This is important in drying the clay. 7. Optional: Add 2 small balls for the eyes. Otherwise, you can just paint them on. 8. Let your piece dry completely. Paint with white acrylic. Let dry. 9. Draw your design with light blue marker, I suggest practicing in a sketchbook first! 10. Optional: Blend your design with Copic colorless blender. 11. Outline your design with the darker Sharpie. 12. Add hints of gold throughout your design. I chose around the legs and head. 13. Varnish your piece with acrylic varnish. Let dry and you're done! You have a beautiful, vintage inspired ceramic turtle. I hope you enjoyed this tutorial, and that it gives you some fun while you're stuck at home.
Until next time, Cassie Clark 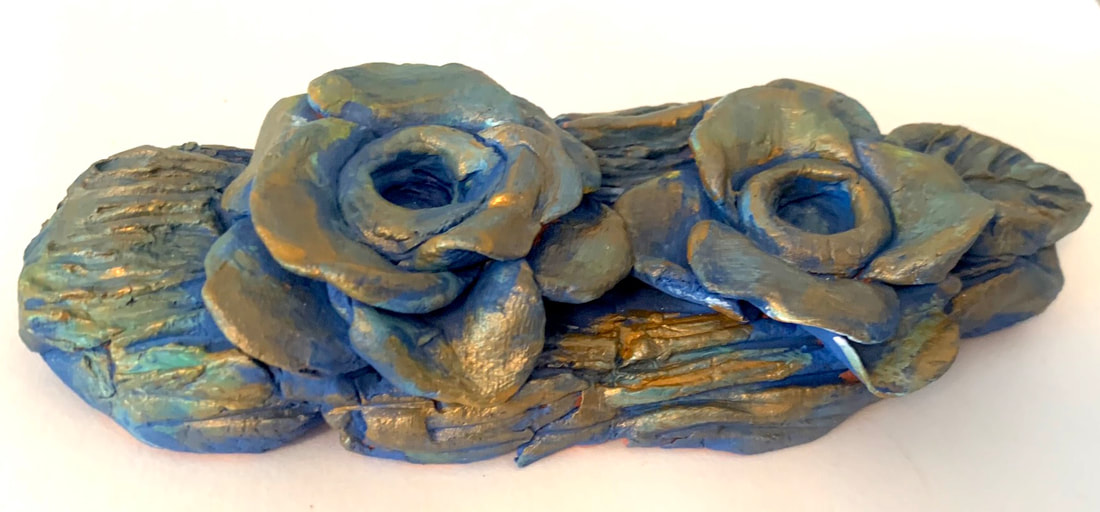 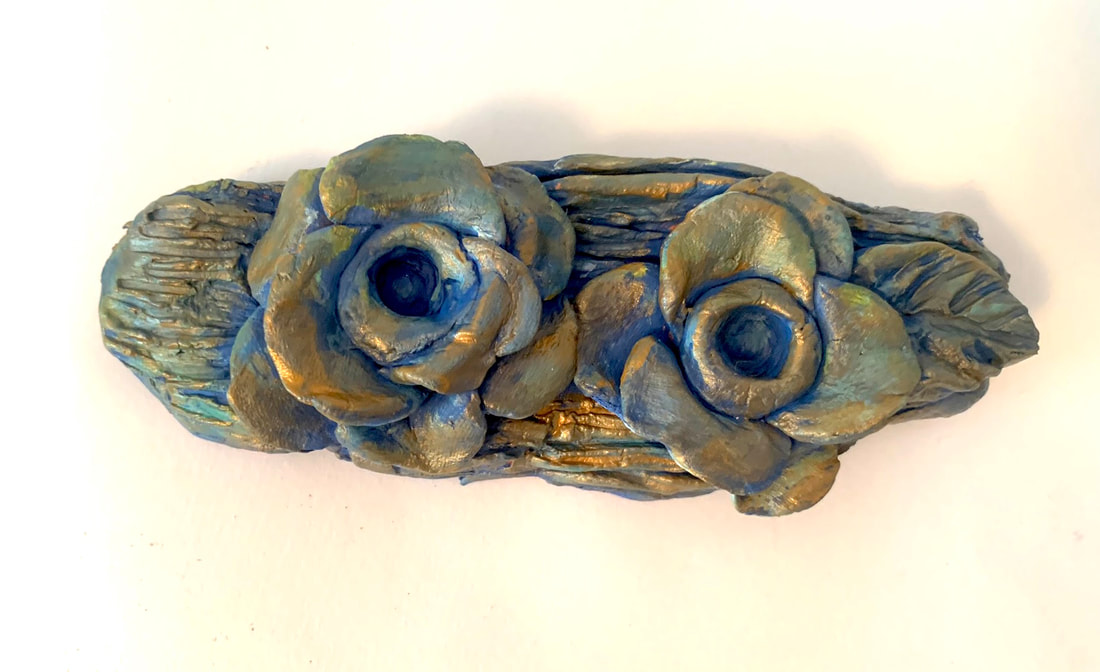 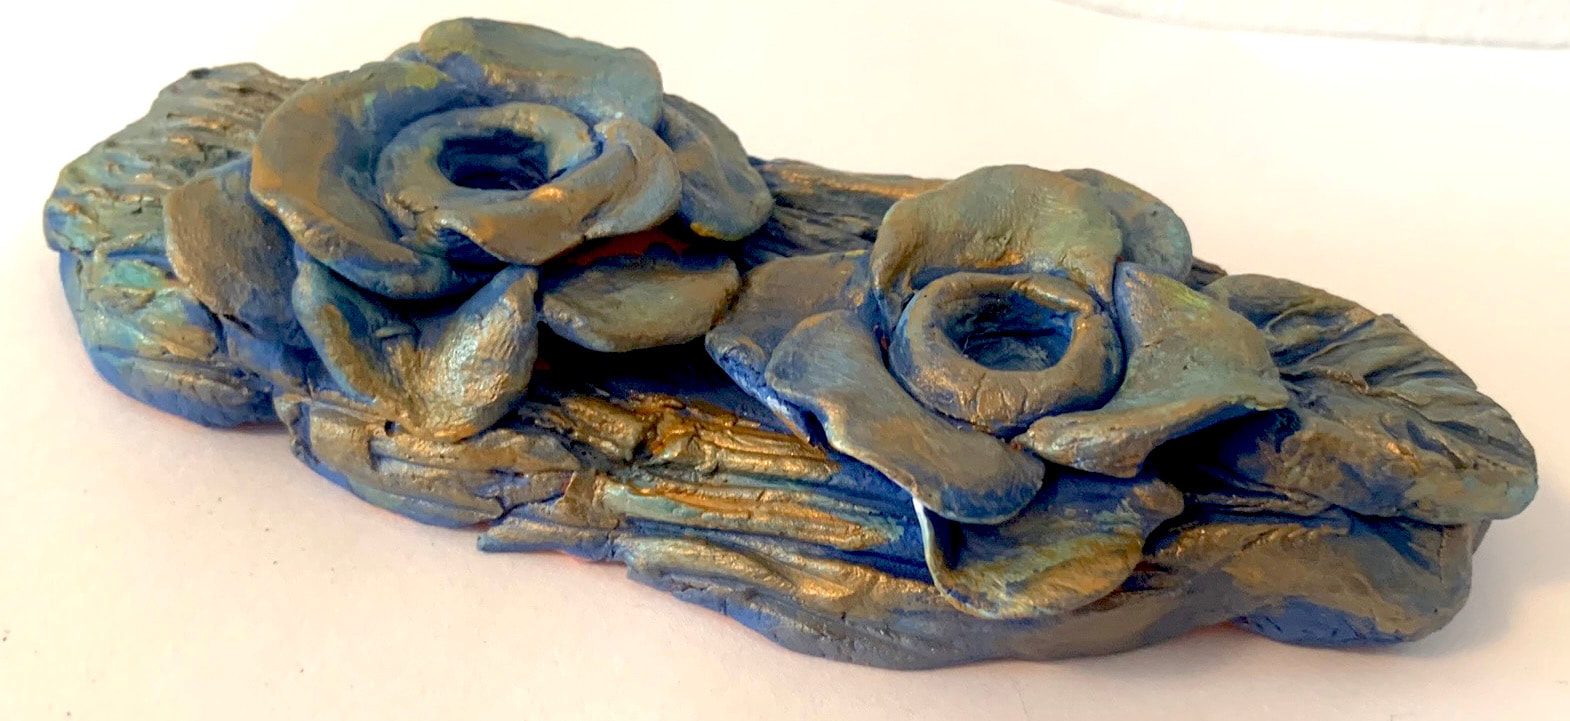 Hi everyone! Life is way different here in New York lately. For one thing, everyone has been encouraged to stay home due to coronavirus. On a personal note, my group show Ink, Press, Repeat at William Paterson University was cut short. Although I'm a bit bummed, I'm excited for what my next show has to bring.
In other news, here are the new commissioned candlesticks that were sent out Friday. My client loved the menorah from Chanukah and wanted a version for Shabbat! I'm so excited to be a part of this special mitzvah. What is everyone doing during quarantine? Until next time, Cassie Clark |
Cassie ClarkArchives
November 2021
Categories |
 RSS Feed
